

Installing the 35-ds3chipdus3 might seem daunting, but it’s easier than you think. Whether you’re a seasoned tech enthusiast or just getting started, this guide breaks down the process into simple, manageable steps.
How to Install 35-ds3chipdus3
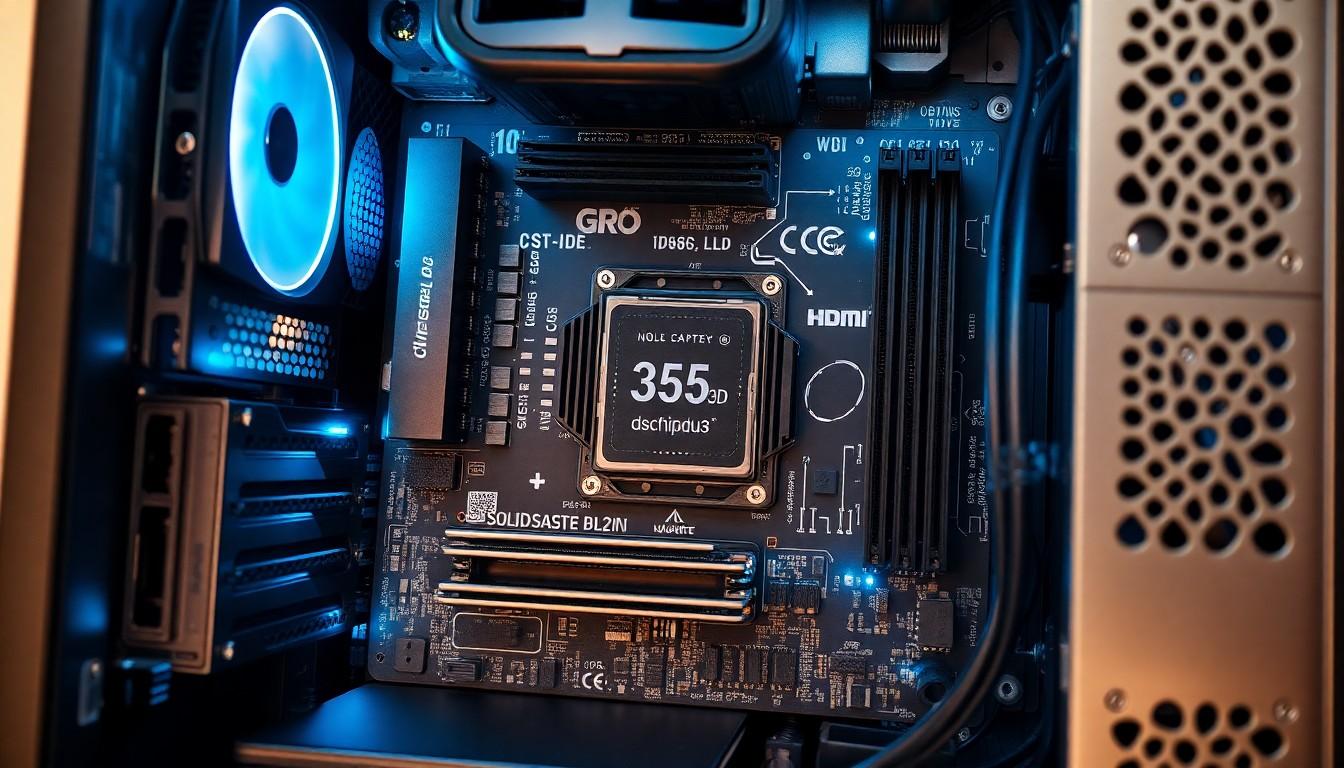
The 35-Ds3chipdus3 is a versatile hardware component designed for advanced computing applications. It integrates seamlessly with various systems, enhancing performance and efficiency. Typically used in both consumer electronics and industrial machinery, this chip offers robust processing capabilities.
Key Features:
-
- High-Speed Processing: Delivers rapid data handling, ensuring smooth operation in demanding tasks.
-
- Energy Efficient: Consumes minimal power, reducing overall energy costs without compromising performance.
-
- Compact Design: Fits into tight spaces, making it ideal for portable and space-constrained devices.
-
- Reliable Connectivity: Supports multiple interfaces, facilitating easy integration with existing hardware.
Applications:
-
- Consumer Electronics: Powers devices like smart TVs, gaming consoles, and home automation systems.
-
- Industrial Automation: Enhances machinery control systems, improving precision and reliability.
-
- Telecommunications: Supports high-speed data transmission in networking equipment.
-
- Medical Devices: Provides critical processing power for diagnostic and monitoring equipment.
Technical Specifications:
| Specification | Details |
|---|---|
| Clock Speed | 3.5 GHz |
| Power Consumption | 15 Watts |
| Process Technology | 7nm |
| Integrated Cores | 8 |
| Connectivity Ports | USB 3.0, HDMI, Ethernet |
The 35-Ds3chipdus3 stands out due to its balance of performance and efficiency. Its adaptable nature makes it suitable for a wide range of applications, from everyday gadgets to specialized industrial tools. By incorporating this chip, users can achieve enhanced functionality and reliability in their devices.
System Requirements
Installing the 35-ds3chipdus3 requires specific hardware and software components to ensure optimal performance.
Processor: A minimum clock speed of 3.5 GHz supports efficient processing tasks.
Memory: At least 8 GB of RAM accommodates the chip’s high-speed operations.
Storage: A solid-state drive (SSD) with 256 GB provides quick data access and storage capacity.
Operating System: Compatible with Windows 10, Linux distributions, and macOS version 11 or later.
Power Supply: A reliable power source delivering 15 watts meets the chip’s energy consumption needs.
Connectivity Ports: Multiple USB 3.0 ports, Ethernet ports, and HDMI interfaces facilitate diverse connectivity options.
Motherboard Compatibility: Ensure the motherboard has the appropriate slot for the 35-ds3chipdus3 and supports its specifications.
Cooling System: An effective cooling solution prevents overheating during intensive tasks.
Software Dependencies: Latest drivers and firmware updates are necessary for seamless integration and functionality.
Peripheral Devices: Compatible keyboards, mice, and monitors enhance the user experience during installation and operation.
| Specification | Requirement |
|---|---|
| Clock Speed | 3.5 GHz |
| Power Consumption | 15 watts |
| RAM | 8 GB |
| Storage | 256 GB SSD |
| Operating Systems | Windows 10, Linux, macOS 11+ |
| Connectivity Ports | USB 3.0, Ethernet, HDMI |
Meeting these system requirements ensures that the 35-ds3chipdus3 operates effectively, providing reliable performance across various applications such as consumer electronics, industrial automation, telecommunications, and medical devices.
Preparation Steps
Before installing the 35-ds3chipdus3, ensure your system is ready for a smooth setup. Follow these preparation steps to avoid potential issues.
Backup Your Data
Protect your important files by creating a complete backup before proceeding. Use external storage devices or reliable cloud services to save documents, photos, and system settings. Backing up prevents data loss in case of unexpected interruptions during installation. Verify that all critical data is securely stored and accessible. Additionally, consider creating a system restore point if your operating system supports it. This step ensures you can revert to a previous state if needed. Prioritizing data backup safeguards your information and provides peace of mind throughout the installation process.
Gather Necessary Tools
Collect all required tools and components to facilitate the installation of the 35-ds3chipdus3. Ensure you have the following items:
-
- Compatible Motherboard: Must have the appropriate slot for the 35-ds3chipdus3.
-
- Screwdrivers: Typically Phillips-head for securing components.
-
- Thermal Paste: Required for effective cooling between the chip and heatsink.
-
- Cooling System: An effective cooler prevents overheating during intensive tasks.
-
- Static Wrist Strap: Minimizes the risk of electrostatic discharge when handling hardware.
-
- System Requirements:
| Specification | Minimum Requirement |
|---|---|
| Clock Speed | 3.5 GHz |
| RAM | 8 GB |
| Storage | 256 GB SSD |
| Power Supply | 15 watts |
| Connectivity Ports | Multiple USB 3.0, Ethernet, HDMI |
| Operating Systems | Windows 10, Linux, macOS 11+ |
Having these tools and meeting the system requirements ensures a successful installation of the 35-ds3chipdus3, enhancing your system’s performance and reliability.
Installation Process
Installing the 35-ds3chipdus3 involves three main steps: downloading the installer, running the installation wizard, and configuring settings. Each step ensures the chip integrates seamlessly with your system.
Step 1: Download the Installer
Begin by accessing the official 35-ds3chipdus3 website. Locate the “Downloads” section and select the appropriate installer for your operating system. Ensure your internet connection is stable to prevent interruptions during the download. Verify the file size matches the specifications provided, typically around 150 MB. If available, use a trusted download manager to enhance download speed and reliability. After downloading, navigate to the file location to prepare for the installation process.
Step 2: Run the Installation Wizard
Double-click the downloaded installer file to launch the installation wizard. Follow the on-screen prompts to initiate the setup process. Choose the installation directory that aligns with your system’s structure, preferably the default path for consistency. If prompted by security software, grant the necessary permissions to allow the installer to make changes. Monitor the installation progress through the provided status bar, ensuring all components install correctly. Upon completion, restart your computer to apply the changes effectively.
Step 3: Configure Settings
Access the 35-ds3chipdus3 configuration panel from the system settings menu. Adjust the chip settings to match your system requirements, such as enabling high-speed processing modes and configuring energy efficiency options. Connect the chip to the appropriate ports, including USB 3.0, Ethernet, and HDMI, to ensure reliable connectivity. Test each connection to verify functionality, addressing any issues promptly. Finally, activate the cooling system settings to maintain optimal temperature levels during intensive tasks.
Post-Installation Setup
After restarting the computer, verify that the 35-ds3chipdus3 is recognized by the system. Navigate to the Device Manager in Windows or the equivalent system settings in other operating systems to confirm the chip appears correctly without any error indicators.
Next, update the chip’s drivers to ensure optimal performance. Visit the official 35-ds3chipdus3 website and download the latest driver updates. Install the drivers by following the provided instructions, then restart the computer to apply the changes.
Configure the chip settings through the dedicated configuration panel. Access the panel by clicking the system tray icon or through the application menu. Adjust parameters such as clock speed, power management, and connectivity options to match your specific requirements. Setting a clock speed of 3.5 GHz and ensuring power consumption remains at or below 15 watts enhances both performance and energy efficiency.
Integrate the chip with necessary peripherals by connecting it to available USB 3.0 ports, Ethernet ports, and HDMI interfaces. Ensure all connections are secure to maintain reliable data transfer and display outputs. Utilizing multiple USB 3.0 ports allows for faster data synchronization with external devices.
Optimize the cooling system to prevent overheating during intensive tasks. Verify that the cooling fans are functioning correctly and that thermal paste is adequately applied. Effective cooling maintains the chip’s performance stability and prolongs its lifespan.
Finally, perform a system benchmark to test the chip’s performance. Use trusted benchmarking software to evaluate processing speed, multitasking capabilities, and overall system responsiveness. Analyzing these metrics ensures that the 35-ds3chipdus3 operates at peak efficiency within the configured settings.
| Configuration Parameter | Recommended Value |
|---|---|
| Clock Speed | 3.5 GHz |
| Power Consumption | ≤ 15 watts |
| RAM | ≥ 8 GB |
| Storage | 256 GB SSD |
Implementing these post-installation steps guarantees the 35-ds3chipdus3 functions effectively, enhancing your system’s overall performance and reliability.
Troubleshooting Common Issues
During the installation of the 35-ds3chipdus3, users may encounter several common issues. Addressing these promptly ensures a smooth setup process.
Installation Errors
If the installer fails to launch, verify that the system meets all prerequisites. Ensure the operating system is compatible and that the installer file is not corrupted. Re-download the installer from the official website if necessary.
Chip Not Recognized
When the system does not recognize the 35-ds3chipdus3, check the physical connections. Ensure the chip is properly seated in the motherboard slot. Update the device drivers by accessing the Device Manager and selecting “Update Driver.”
Performance Issues
Experiencing sluggish performance may indicate inadequate cooling. Confirm that the cooling system is active and properly connected. Adjust the clock speed settings in the configuration panel to match the recommended specifications.
Overheating
Overheating can cause system instability. Inspect the cooling system for proper installation and functionality. Clean any dust from the heat sinks and ensure adequate airflow within the case.
Connectivity Problems
If connectivity ports are unresponsive, examine the cable connections. Test each port with different peripherals to identify faulty hardware. Update the firmware through the official website to resolve compatibility issues.
Software Conflicts
Conflicts with existing software can hinder installation. Disable antivirus programs temporarily and close unnecessary applications before proceeding. Reattempt the installation to ensure no interruptions occur.
Driver Update Failures
Failures during driver updates may stem from network issues. Ensure a stable internet connection and sufficient disk space. Retry the update process after addressing connectivity problems.
| Common Issue | Possible Cause | Solution |
|---|---|---|
| Installation Errors | Incomplete prerequisites | Verify system requirements and reinstall |
| Chip Not Recognized | Improper seating or outdated drivers | Re-seat the chip and update drivers |
| Performance Issues | Inadequate cooling or misconfigured settings | Enhance cooling and adjust settings |
| Overheating | Blocked airflow or faulty cooling system | Clean heat sinks and check cooling components |
| Connectivity Problems | Faulty cables or outdated firmware | Test with different cables and update firmware |
| Software Conflicts | Antivirus interference | Disable antivirus and close background apps |
| Driver Update Failures | Network instability | Ensure stable connection and retry updates |
Addressing these issues systematically enhances the installation experience and ensures the 35-ds3chipdus3 operates at optimal performance levels.
Conclusion
Installing the 35-ds3chipdus3 enhances any system with its powerful performance and efficiency. Users find the process straightforward, making advanced computing accessible to both novices and experts. With the right preparation and adherence to the steps outlined, the installation ensures reliable connectivity and optimal operation.
Once in place the chip unlocks new potential for various applications from consumer electronics to industrial automation. Proper configuration and maintenance keep the system running smoothly preventing issues and maximizing the chip’s capabilities. Embracing the 35-ds3chipdus3 means stepping into a realm of superior technology and dependable performance.